The Jedi lightsaber design we were aiming for fit into the period of the old republic. Therefore, it had to have a rugged, functional, yet refined look to it.

After searching in many places for inspiration, this image from http://swtor.wikia.com/wiki/File:Jedi-Lightsaber.jpg caught my eye the most. Particularly the one with the wooden handle.
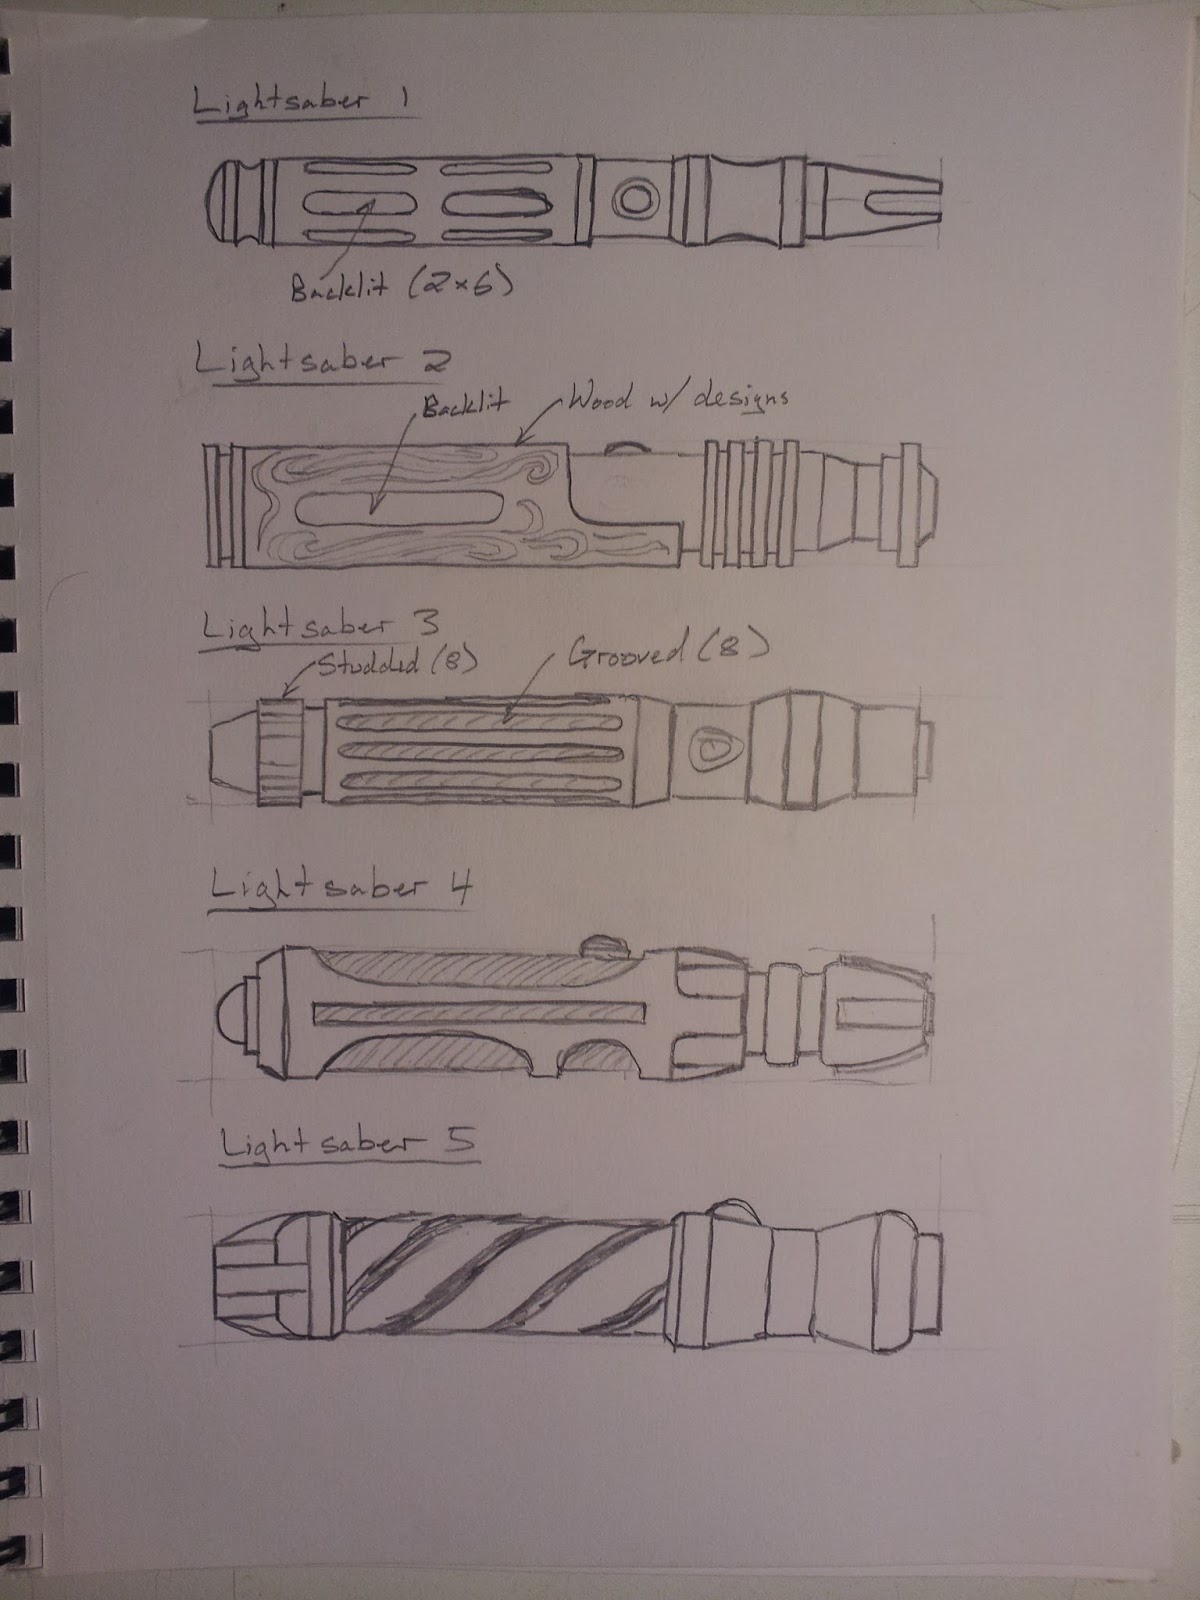

Design #2 was draw up using Google SketchUp, with minimal cosmetic modifications.

The construction is one solid piece with a central tang, with two wooden handles attached on either side.

Turning the emitter on the lathe out of bass wood.


I didn't take a lot of in-process pictures, but basically all the pieces were cut out of either bass wood or MDF and attached using super glue. Then the whole thing was coated with primer and sanded repeatedly. Screw holes were drilled into the handles for fastening points.

What good is a lightsaber without an on/off button. It was super glued on and blended in with putty, then coated with primer.

The finished master. All three pieces are kept separate. The hammer looking element on the left end is for molding/casting purposes. It's basically the pour/air hole.

Next, a box is made to serve as the rigid structure for the mold. The tricky part of making a mold like this is determining where the separation plane should be. If I had to do it again, I would've rotated the saber 90 degrees so the plane didn't go straight through the button. It created a jagged edge during casting. Clay was used to simulate the bottom half of the mold while the silicone rubber was poured into the top. The dimples serve as registration keys to key up the two halves of the mold.


Remember the hammer looking shape? Well, it's now the hole into which the epoxy resin plastic is poured. The 3/4" dowel rod is used to make the cavity into which the blade is inserted. At the end of it is a pronged tee nut, that will be embedded into the plastic and allow the blade to be installed and removed via a threaded rod just like a pool cue.

This was the first casting made. It's 1/3 aluminum powder by volume.


The same mold/casting process was used to make the handle copies. Instead of aluminum powder, pecan flour was used as the additive to simulate the wood color and texture. The wood grains transferred perfectly.
 Brown shoe polish was rubbed into the grains to give it more of a wooden appearance.
The final result is a Jedi lightsaber that definitely has the look and feel of one straight from the old republic. Since this is a film prop, the blade is just a piece of 3/4" poplar wooden dowel painted florescent yellow. D-rings were added later to the base so they could be clipped to the belt of the Jedi costume.
No comments:
Post a Comment