This is the first prop that was designed. It's a portable hand-held holographic projection unit, commonly known throughout sci-fi as a 'holopad'. It has a 4" diameter base with a rotating emitter assembly on top. This prop will be used in initial testing film shorts as we experiment with different visual effects!

Conceptual drawing, labeling dummy components.

The main parts are to be made of wood and dremel out the cavities for the electronics. This is meant to be a fast and easy prop to get the cameras rolling ASAP.

Cross-section drawn on the world's most advanced graphics program, Google SketchUp!!! Haha

And wouldn't ya know it, I meant to buy maple wood but for some stupid reason I got ash. And now I'm stuck with 18 board feet of it! Oh well, I suppose that's what bondo and C-11 are for!

The base cut with the bandsaw.

Gotta smooth them edges...

Guidelines are drawn to assist in making the dimensions match the drawing. My calibrated pencil gets me within 1/32"!

Using the guidelines as boundaries for surface contour, going from general features to more detailed.

Smoothing the bottom of the base. I hate how coarse that grain is, but it's usable...after a layer of C-11.

Guidelines for the fillet.
Shaving the fillet.

The big fillet on the top side, between the guidelines.

The tapered cylindrical shape on the left side is for insertion into the lathe chuck.

With the base installed into the lathe chuck, the 'countersink' can added to the bottom of the base, into which the bottom plastic cover will be installed at the end.

The countersink is only 1/8" deep.

Perfect size!

Had to rig up a redneck fixture to keep my fingers attached to my hand. So, I guess that would make it an anti-redneck fixture??? I kid. ...but seriously...

Countersunk to receive the bottom of the emitter component.

All it needs is dremeling, C-11, sanding, electronics, and paint!

The bulk piece for the emitter.

Emitter after being shaven. The bottom cylinder is for the lathe chuck.

Sitting in the lathe chuck. Guidelines for the fillet.

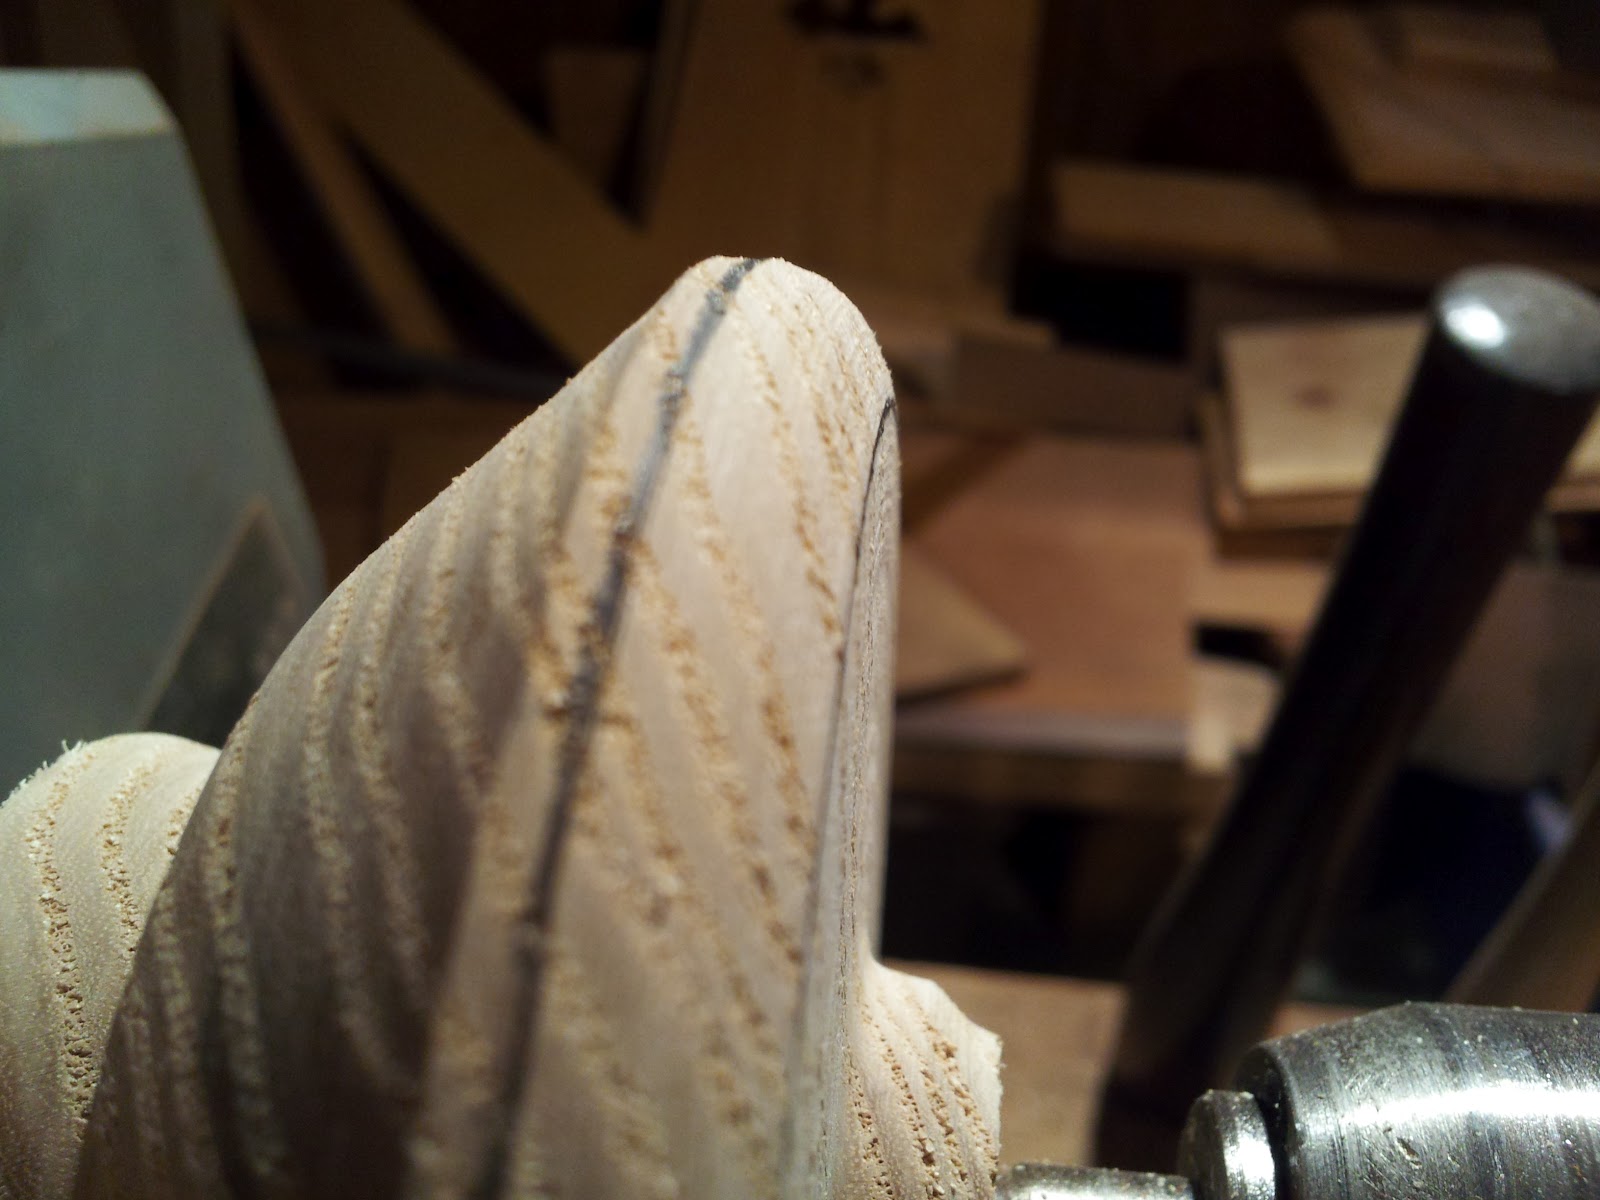
Surface contouring.

Marking out the boundaries for the LED cavity.

LED cavity created.

There it be in it's raw form.

Top view.

A little close up.

Side view. I thought the work light in the background was a nice touch!
Stay tuned for more on this prop. It's only a third complete.
No comments:
Post a Comment